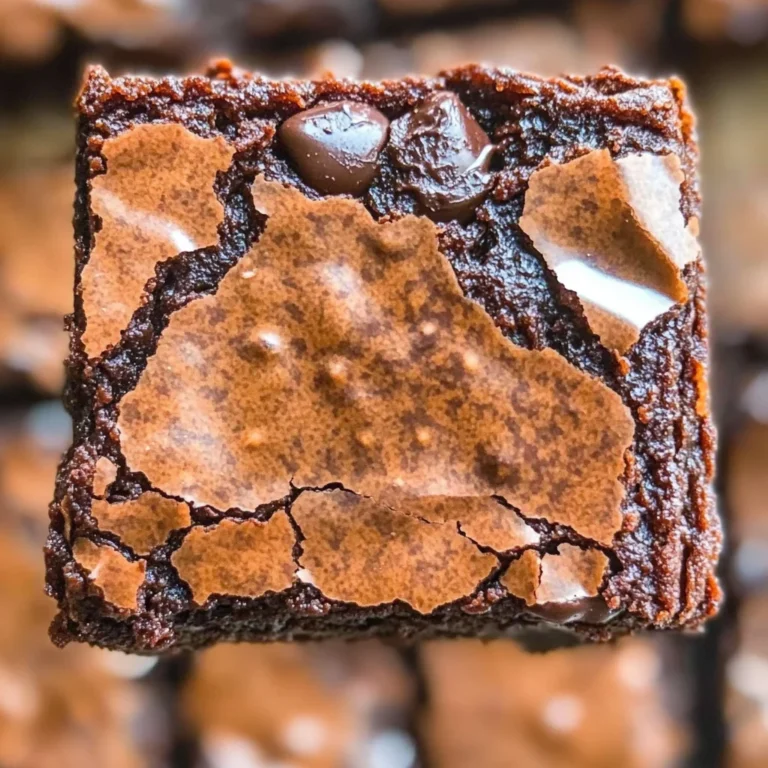
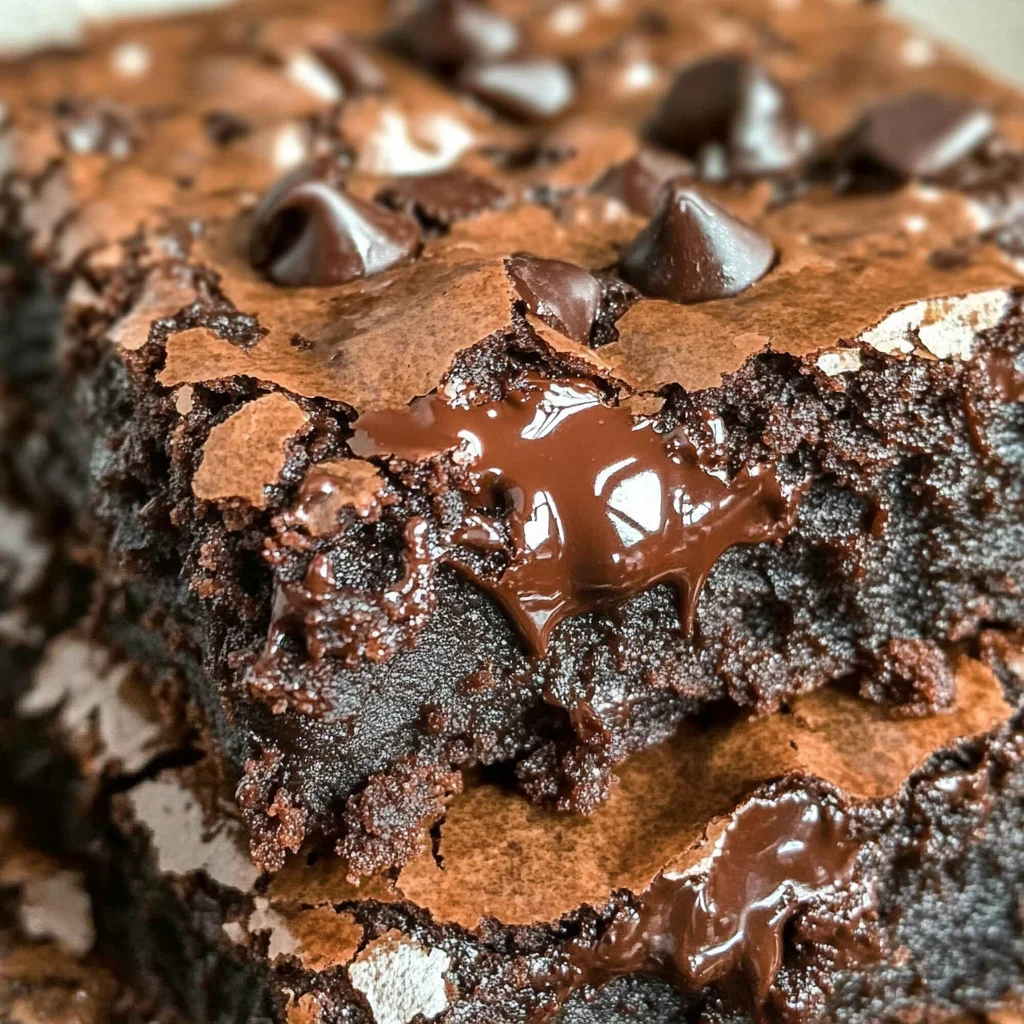
Greek Yogurt Brownies
Greek Yogurt Brownies are a deliciously healthier alternative to traditional brownies. With lower fat and calorie content, these fudgy treats are perfect for satisfying your sweet tooth without the guilt. Made in just one bowl, you’ll be amazed at how easy they are to whip up. Whether for a casual gathering or a special occasion, these brownies are sure to impress everyone with their rich flavor and moist texture.
Why You’ll Love This Recipe
- Healthier Option: These brownies use Greek yogurt instead of oil or butter, reducing fat and calories while adding protein.
- Quick and Easy: Made in one bowl, this recipe minimizes cleanup and preparation time, making it perfect for busy days.
- Rich Chocolate Flavor: The combination of cocoa powder and chocolate creates a decadent taste that chocolate lovers will adore.
- Versatile Ingredients: You can easily swap ingredients based on your preferences or dietary needs, such as using gluten-free flour or different types of sugar.
- Makes 12 Servings: This recipe yields a dozen brownies, making it ideal for sharing with friends and family.
Tools and Preparation
Gathering the right tools will make your baking experience smoother. Here’s what you need to prepare your Greek Yogurt Brownies.
Essential Tools and Equipment
- Mixing bowl
- Microwave-safe bowl
- Whisk
- Measuring cups
- 8 x 8-inch baking pan
- Parchment paper
Importance of Each Tool
- Mixing bowl: A sturdy mixing bowl allows for easy combining of ingredients without spills.
- Microwave-safe bowl: This is essential for melting chocolate quickly and efficiently.
- Whisk: A whisk helps achieve a smooth batter by fully incorporating all the ingredients.
- Baking pan: Using an 8 x 8-inch pan ensures even baking and helps achieve the perfect brownie thickness.
Ingredients
Greek Yogurt Brownies are a healthier take on brownies—lower in fat, calories, and carbs! Fudgy and made in one bowl, you won’t even taste the yogurt!
For the Brownies
- 1/2 cup chocolate (chopped)
- 1 cup vanilla yogurt (see notes)
- 1/2 cup sugar of choice (white, brown, sugar free, etc.)
- 3/4 cup all-purpose flour (gluten-free if needed)
- 1/2 cup cocoa powder
- 1/2 teaspoon baking soda
- 1/2 cup milk of choice (I used unsweetened almond milk)
- 1 cup chocolate chips of choice (optional)
How to Make Greek Yogurt Brownies
Step 1: Preheat the Oven
Preheat the oven to 180C/350F. Line an 8 x 8-inch pan with parchment paper to prevent sticking. Set aside.
Step 2: Melt the Chocolate
In a microwave-safe bowl, add your chopped chocolate. Melt the chocolate in short bursts until smooth. Let it sit for 1-2 minutes before adding your yogurt and sugar. Whisk until smooth and transfer this mixture to a large mixing bowl.
Step 3: Combine Dry Ingredients
Add the flour, cocoa powder, and baking soda into the mixing bowl with your wet ingredients. Mix until just combined.
Step 4: Add Milk
Pour in your milk of choice into the mixture. Stir well until everything is fully incorporated. If you want extra richness, fold through your chocolate chips at this stage.
Step 5: Bake the Brownies
Transfer the batter into the lined pan and bake for 25-30 minutes. Check if they’re done by inserting a skewer; it should come out just clean. Once baked, remove from the oven and let them cool in the pan for about 10 minutes before transferring them to a wire rack to cool completely.
With these simple steps, you’ll have delicious Greek Yogurt Brownies ready to enjoy!
How to Serve Greek Yogurt Brownies
Greek Yogurt Brownies are versatile and delicious on their own, but they can also be enhanced with various toppings or sides. Here are some creative serving suggestions to elevate your brownie experience.
Top with Fresh Fruits
- Berries: Add a mix of strawberries, blueberries, or raspberries for a burst of freshness.
- Banana Slices: Layer thin banana slices for sweetness and creaminess.
Drizzle with Nut Butter
- Peanut Butter: A drizzle of creamy peanut butter adds richness and a nutty flavor.
- Almond Butter: Use almond butter for a slightly sweeter and more delicate touch.
Serve with Whipped Cream
- Coconut Whipped Cream: This dairy-free option complements the brownies perfectly.
- Greek Yogurt Topping: A dollop of plain Greek yogurt enhances the tangy flavor.
Ice Cream Pairing
- Vanilla Ice Cream: The classic choice that balances the fudginess of the brownies.
- Dairy-Free Alternatives: Options like coconut or almond milk ice cream cater to different diets.
How to Perfect Greek Yogurt Brownies
To ensure your Greek Yogurt Brownies turn out perfectly every time, consider these helpful tips.
- Boldly Choose Quality Chocolate: High-quality chocolate makes a significant difference in flavor.
- Boldly Measure Ingredients Accurately: Use precise measurements for consistent results in texture and taste.
- Boldly Preheat Your Oven: Ensuring your oven reaches the correct temperature before baking is key for even cooking.
- Boldly Check for Doneness Early: Start checking your brownies a few minutes before the recommended bake time to prevent overbaking.
- Boldly Cool Completely Before Cutting: Letting the brownies cool fully helps them set up properly, making them easier to slice.
Best Side Dishes for Greek Yogurt Brownies
Pairing side dishes with Greek Yogurt Brownies can create a delightful dessert spread. Here are some fantastic options to consider.
- Fresh Fruit Salad – A refreshing mix of seasonal fruits brings brightness to your dessert table.
- Chia Seed Pudding – This creamy and nutritious pudding can add texture and flavor contrast.
- Nutty Granola Parfait – Layer granola with yogurt and fruit for an exciting twist on traditional desserts.
- Homemade Applesauce – The natural sweetness of applesauce complements the rich brownies beautifully.
- Coconut Macaroons – These chewy treats add another layer of coconut flavor that pairs well with yogurt brownies.
- Creamed Spinach Salad – A savory option that balances the sweetness of desserts while providing a healthy crunch.
Common Mistakes to Avoid
When making Greek Yogurt Brownies, it’s easy to make a few common mistakes. Avoiding these pitfalls will ensure your brownies turn out perfectly fudgy and delicious.
- Using the wrong yogurt – Make sure to use plain vanilla yogurt for the best flavor and texture. Flavored yogurts can alter the sweetness and taste of your brownies.
- Overmixing the batter – Mixing too much can lead to dense brownies. Stir just until combined for a lighter texture.
- Skipping the cooling time – Allowing your brownies to cool in the pan helps them set properly. Rushing this step can result in crumbly pieces.
- Not measuring ingredients accurately – Using improper measurements can change the consistency. Always use standard measuring cups and spoons for accuracy.
- Baking at incorrect temperatures – Ensure your oven is preheated correctly. Baking at too high or low a temperature can affect cooking time and texture.
Storage & Reheating Instructions
Refrigerator Storage
- Store Greek Yogurt Brownies in an airtight container.
- They will last up to 5 days in the refrigerator.
Freezing Greek Yogurt Brownies
- Wrap individual brownies in plastic wrap or aluminum foil.
- Place them in a freezer-safe container or bag; they’ll stay fresh for up to 3 months.
Reheating Greek Yogurt Brownies
- Oven – Preheat your oven to 350°F (175°C). Heat for about 10-15 minutes until warmed through.
- Microwave – Heat one brownie at a time on medium power for 20-30 seconds, checking frequently.
- Stovetop – Place a brownie in a non-stick skillet over low heat. Cover with a lid and warm for a few minutes.
Frequently Asked Questions
Here are some common questions about making Greek Yogurt Brownies that many home bakers have.
Can I use other types of yogurt for Greek Yogurt Brownies?
Yes, you can use any plain yogurt, but Greek yogurt provides a creamier texture that enhances the fudginess of the brownies.
How do I make Greek Yogurt Brownies gluten-free?
Simply substitute regular all-purpose flour with a gluten-free blend that works well for baking.
Are Greek Yogurt Brownies healthier than traditional brownies?
Absolutely! They are lower in fat and calories while still delivering rich chocolate flavor, making them a great guilt-free dessert option.
Can I add nuts or fruits to my Greek Yogurt Brownies?
Definitely! You can mix in chopped nuts like walnuts or even fruits like raspberries before baking for added flavor and texture.
What should I do if my brownies come out dry?
If your brownies turn out dry, try adding an extra tablespoon of milk next time or reducing baking time slightly.
Final Thoughts
Greek Yogurt Brownies offer a delightful twist on traditional brownies without sacrificing flavor. They are perfect as a healthier dessert option while still being rich and fudgy. Feel free to customize them by adding nuts, fruits, or different types of chocolate chips to suit your taste preferences!
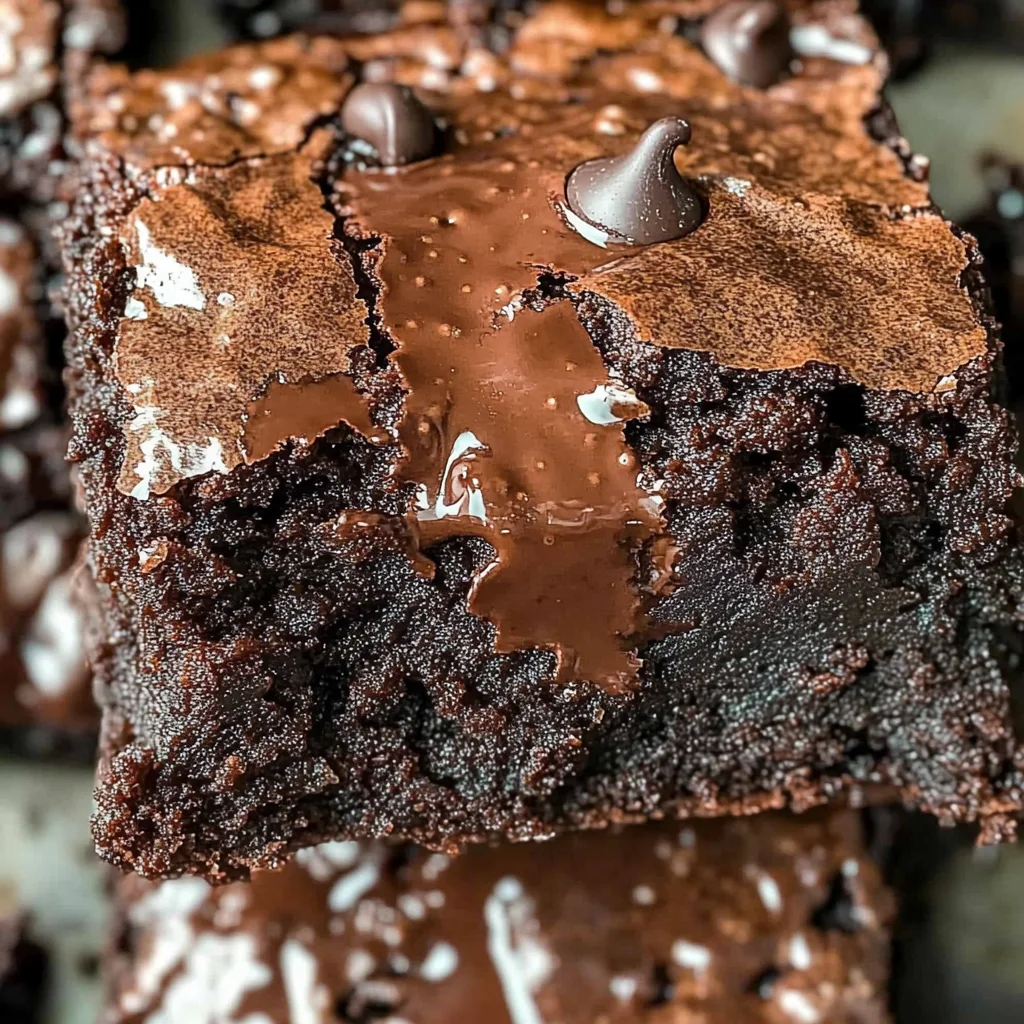
Greek Yogurt Brownies

Indulge in the rich, fudgy goodness of Greek Yogurt Brownies—a delightful twist on a classic dessert that is both healthier and easier to make. These brownies feature creamy Greek yogurt as a substitute for butter or oil, resulting in a lower fat and calorie treat without sacrificing flavor. Whipped up in just one bowl, they are perfect for satisfying your sweet cravings while keeping guilt at bay. Whether you’re hosting a gathering or simply treating yourself, these brownies will impress with their moist texture and decadent chocolate taste. Enjoy them plain, or elevate them with fresh fruits and nut butters for an extra layer of deliciousness!
- Prep Time: 15 minutes
- Cook Time: 30 minutes
- Total Time: 45 minutes
- Yield: Makes approximately 12 brownies 1x
- Category: Dessert
- Method: Baking
- Cuisine: American
Ingredients
- 1/2 cup chopped chocolate
- 1 cup vanilla yogurt
- 1/2 cup sugar (any type)
- 3/4 cup all-purpose flour (gluten-free if desired)
- 1/2 cup cocoa powder
- 1/2 teaspoon baking soda
- 1/2 cup milk (unsweetened almond milk recommended)
- 1 cup chocolate chips (optional)
Instructions
- Preheat your oven to 350°F (180°C) and line an 8 x 8-inch baking pan with parchment paper.
- In a microwave-safe bowl, melt the chopped chocolate in short bursts until smooth. Allow to cool slightly before mixing in the yogurt and sugar until well combined.
- In a separate bowl, mix together the flour, cocoa powder, and baking soda. Gradually add these dry ingredients into the wet mixture and stir until just combined.
- Pour in your choice of milk and stir until fully incorporated. If using, fold in chocolate chips for added richness.
- Transfer batter to the prepared baking pan and bake for 25-30 minutes or until a skewer inserted comes out clean. Let cool before slicing.
Nutrition
- Serving Size: 1 serving
- Calories: 150
- Sugar: 10g
- Sodium: 65mg
- Fat: 6g
- Saturated Fat: 3g
- Unsaturated Fat: 2g
- Trans Fat: 0g
- Carbohydrates: 22g
- Fiber: 2g
- Protein: 4g
- Cholesterol: 0mg