Homemade Copycat Nutter Butters
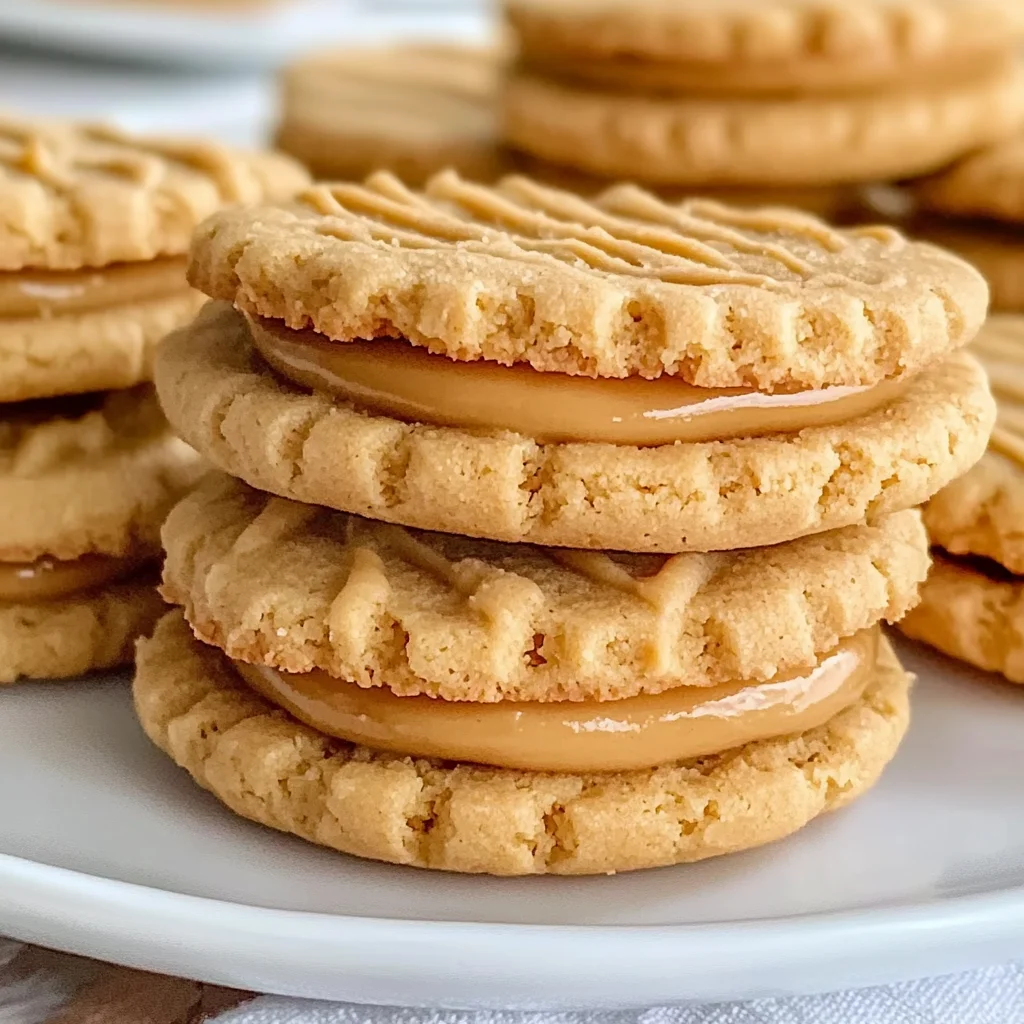
These Homemade Copycat Nutter Butters are a delightful treat that brings the nostalgia of childhood snacks right into your kitchen. With soft, chewy peanut butter cookies sandwiching a rich and creamy filling, they are perfect for any occasion—be it a cozy family gathering, school lunches, or a sweet indulgence for yourself. The best part? These cookies are simple to make from scratch and offer a homemade touch that store-bought options can’t match.
Why You’ll Love This Recipe
- Easy to Make: This recipe requires basic ingredients and straightforward steps, making it perfect for beginner bakers.
- Deliciously Flavorful: Combining the richness of peanut butter with a sweet filling creates an irresistible taste that everyone will love.
- Customizable: Feel free to adjust the sweetness or add mix-ins like chocolate chips for extra flair.
- Perfect for Sharing: These cookies make great gifts or treats for parties, bringing smiles all around.
- Nostalgic Treat: Enjoy the flavors reminiscent of childhood favorites with a homemade twist.
Tools and Preparation
Before you start baking these delicious Homemade Copycat Nutter Butters, gather the necessary tools to ensure a smooth process.
Essential Tools and Equipment
- Mixing bowls
- Measuring cups and spoons
- Baking sheets
- Parchment paper
- Electric mixer (or whisk)
- Cooling rack
Importance of Each Tool
- Mixing bowls: Essential for combining ingredients efficiently and keeping your workspace organized.
- Electric mixer: Makes creaming butter and sugar easy, resulting in light and fluffy cookie dough.
- Parchment paper: Prevents sticking and makes cleanup easier when baking your cookies on sheets.
Ingredients
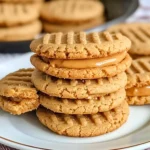
These soft, chewy peanut butter cookies sandwich a rich and creamy peanut butter filling—perfectly sweet, salty, and nostalgic, just like the classic treat but made fresh from scratch at home.
For the Cookies
- 1/2 cup unsalted butter, softened
- 1/2 cup creamy peanut butter
- 1/2 cup granulated sugar (plus extra for topping)
- 1/2 cup brown sugar
- 1 large egg
- 1 teaspoon vanilla extract
- 1 1/4 cups all-purpose flour
- 3/4 teaspoon baking soda
- 1/4 teaspoon salt
For the Filling
- 1/2 cup creamy peanut butter
- 1/4 cup unsalted butter, softened
- 1 cup powdered sugar
- 1 teaspoon vanilla extract (for filling)
- 1–2 tablespoons milk (as needed for texture)
How to Make Homemade Copycat Nutter Butters
Step 1: Preheat the Oven
Preheat your oven to 350°F (175°C). Line a baking sheet with parchment paper to ensure easy removal of the cookies after baking.
Step 2: Cream the Butter and Sugars
In a large bowl, cream together the softened unsalted butter, creamy peanut butter, granulated sugar, and brown sugar until light and fluffy.
Step 3: Incorporate Egg and Vanilla
Add in the large egg and one teaspoon of vanilla extract. Mix until well combined.
Step 4: Combine Dry Ingredients
In a separate bowl, whisk together the all-purpose flour, baking soda, and salt. Gradually add this mixture to your wet ingredients. Stir until a dough forms.
Step 5: Shape Your Cookies
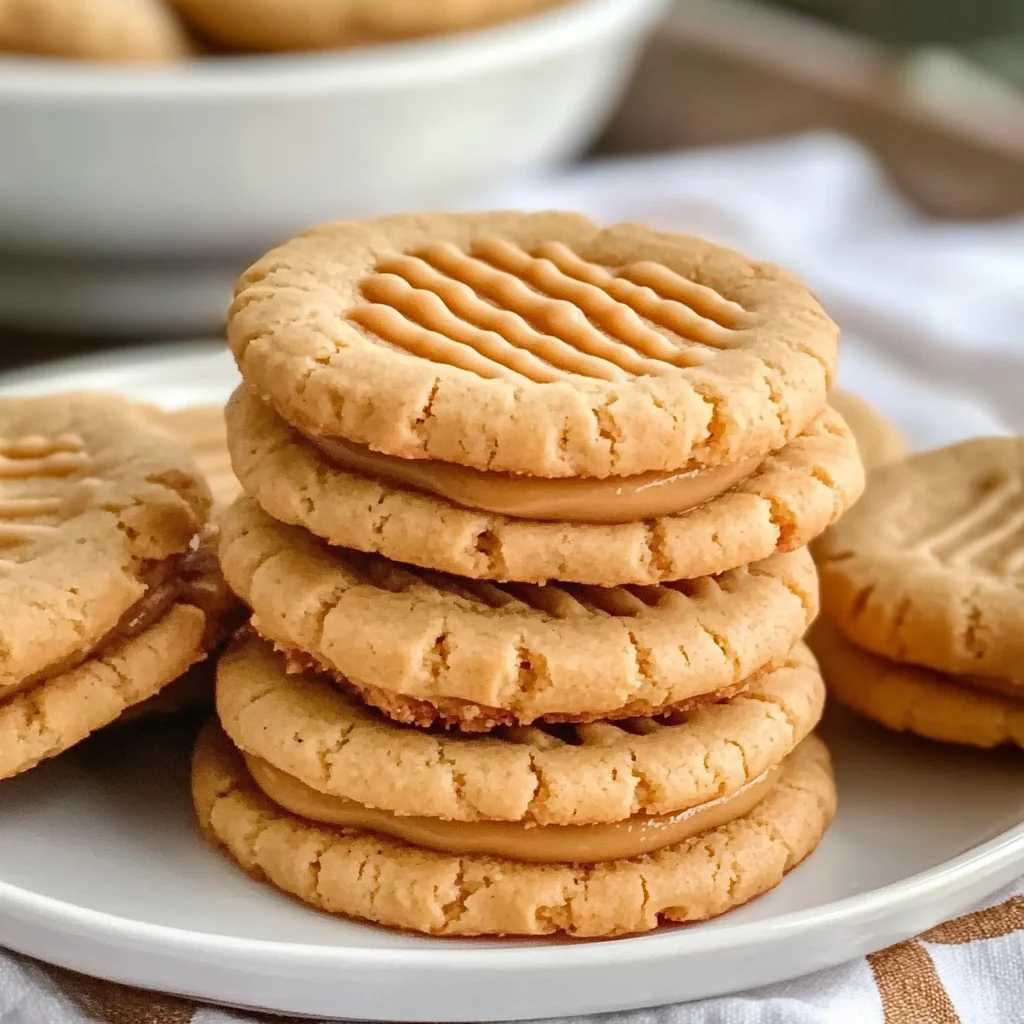
Roll the dough into small balls (about 1 inch), shape them into ovals, then press each lightly with a fork to create the classic crosshatch pattern. Sprinkle lightly with additional sugar on top.
Step 6: Bake the Cookies
Place your shaped cookies on the lined baking sheet. Bake in your preheated oven for 8–10 minutes or until they are lightly golden. Allow them to cool completely on a cooling rack.
Step 7: Prepare the Filling
For the filling, beat together half a cup of creamy peanut butter with one-quarter cup of softened unsalted butter until smooth. Gradually add powdered sugar and one teaspoon of vanilla extract while mixing until creamy. Adjust texture by adding milk one tablespoon at a time until you reach your desired consistency.
Step 8: Assemble Your Sandwiches
Once your cookies are fully cooled, spread or pipe some of your prepared filling onto the flat side of one cookie. Top with another cookie to create delicious sandwiches.
Enjoy these Homemade Copycat Nutter Butters as an indulgent snack or dessert that everyone will adore!
How to Serve Homemade Copycat Nutter Butters
These delightful sandwiches are perfect for any occasion. Whether you’re hosting a party or enjoying a quiet evening at home, there are many ways to serve and enjoy your Homemade Copycat Nutter Butters.
Classic Pairings
- Milk – This timeless duo is hard to beat. A tall glass of cold milk complements the richness of the peanut butter cookies perfectly.
- Coffee – Enjoy these cookies with a warm cup of coffee for a delightful afternoon treat. The bitterness of the coffee balances the sweetness.
Fun Serving Ideas
- Ice Cream Sandwiches – Transform your cookies into ice cream sandwiches by adding a scoop of your favorite ice cream in between two cookies.
- Cookie Platter – Arrange your Homemade Copycat Nutter Butters on a platter with other homemade cookies for an inviting dessert spread.
Creative Dessert Options
- Chocolate Drizzle – Drizzle melted chocolate over the top of each cookie for an extra layer of flavor and elegance.
- Nostalgic Treat Boxes – Package them in decorative boxes as gifts for friends or family, bringing back sweet memories.
How to Perfect Homemade Copycat Nutter Butters
Achieving the perfect texture and flavor in your Homemade Copycat Nutter Butters is easy with a few helpful tips.
- Use Room Temperature Ingredients – Ensuring that your butter and egg are at room temperature helps create a smoother dough and better mixing.
- Don’t Overmix the Dough – Mix until just combined to keep the cookies soft and chewy rather than tough.
- Chill Your Dough (Optional) – If you have time, chilling the dough for 30 minutes can help enhance the flavors and improve the texture.
- Monitor Baking Time – Keep an eye on the cookies while baking; they should be lightly golden but not browned. This ensures they stay soft.
- Experiment with Flavored Fillings – Try adding cocoa powder or cinnamon to your filling for a fun twist on classic flavors.
Best Side Dishes for Homemade Copycat Nutter Butters
Pairing side dishes with your Homemade Copycat Nutter Butters can elevate your dessert experience. Here are some great options:
- Fresh Fruit Salad – A colorful mix of seasonal fruits adds freshness and balances the sweetness of the cookies.
- Yogurt Parfait – Layer yogurt with granola and berries for a healthy side that complements the richness of peanut butter.
- Chocolate Milkshake – A thick chocolate milkshake makes a decadent pairing that kids will love.
- Nutty Granola Bars – Serve homemade or store-bought bars made with nuts and oats for added crunch alongside your cookies.
- Peanut Butter Banana Smoothie – Blend bananas, peanut butter, and almond milk for a creamy drink that echoes cookie flavors.
- Carrot Sticks with Hummus – This savory option provides a crunchy counterpart that contrasts nicely with sweet treats.
Common Mistakes to Avoid
Making Homemade Copycat Nutter Butters can be a delightful experience, but there are some common pitfalls to watch for. Here are a few mistakes to avoid:
- Using cold ingredients – Cold butter or peanut butter can lead to a dense cookie. Always soften your butter and peanut butter before mixing to ensure a light and fluffy dough.
- Overmixing the dough – Mixing too long can develop gluten, resulting in tough cookies. Mix just until combined for the best texture.
- Not measuring flour correctly – Too much flour can make cookies dry. Use the spoon-and-level method for accurate measurements.
- Forgetting to chill the dough – Chilling helps the flavors meld and prevents spreading. Allow the dough to chill for at least 30 minutes before baking.
- Skipping the cooling step – Filling should only go on cooled cookies. If you don’t let them cool completely, the filling may melt and make a mess.
Storage & Reheating Instructions
Refrigerator Storage
- Store in an airtight container.
- Homemade Copycat Nutter Butters will last up to 5 days in the fridge.
Freezing Homemade Copycat Nutter Butters
- Wrap each cookie individually in plastic wrap.
- Place wrapped cookies in a freezer-safe bag or container; they will keep for up to 3 months.
Reheating Homemade Copycat Nutter Butters
- Oven – Preheat to 350°F (175°C) and heat cookies for about 5-7 minutes until warm.
- Microwave – Heat one cookie at a time for about 10-15 seconds for a soft treat.
- Stovetop – Warm in a skillet over low heat for a minute or two, flipping once.
Frequently Asked Questions
Here are some common questions about making Homemade Copycat Nutter Butters.
Can I use crunchy peanut butter instead of creamy?
Yes, you can use crunchy peanut butter if you prefer texture in your cookies!
How do I customize my Homemade Copycat Nutter Butters?
Feel free to add chocolate chips, chopped nuts, or even drizzle melted chocolate on top for extra flavor.
What if my filling is too thick?
Add milk one tablespoon at a time until you reach your desired consistency for spreading.
How long do these cookies last?
When stored properly, they can last up to 5 days in the refrigerator or 3 months in the freezer.
Final Thoughts
These Homemade Copycat Nutter Butters are not only delicious but also versatile. You can customize them with various fillings or toppings based on your preferences. Enjoy making these nostalgic treats from scratch!
Homemade Copycat Nutter Butters
Indulge in the delightful nostalgia of Homemade Copycat Nutter Butters, where soft peanut butter cookies embrace a creamy filling for a treat that’s both comforting and delicious. These cookies are easy to whip up, making them perfect for any occasion, from family gatherings to lunchbox surprises. With a rich peanut butter flavor and customizable fillings, you can impress friends and family or simply enjoy a sweet moment alone. Bring the joy of homemade baking to your kitchen with this simple recipe that captures the essence of childhood favorites.
- Prep Time: 20 minutes
- Cook Time: 10 minutes
- Total Time: 30 minutes
- Yield: Approximately 12 sandwich cookies 1x
- Category: Dessert
- Method: Baking
- Cuisine: American
Ingredients
- 1/2 cup unsalted butter, softened
- 1/2 cup creamy peanut butter
- 1/2 cup granulated sugar
- 1/2 cup brown sugar
- 1 large egg
- 1 teaspoon vanilla extract
- 1 1/4 cups all-purpose flour
- 3/4 teaspoon baking soda
- 1/4 teaspoon salt
- 1/2 cup creamy peanut butter (for filling)
- 1/4 cup unsalted butter, softened (for filling)
- 1 cup powdered sugar
- 1 teaspoon vanilla extract (for filling)
- 1–2 tablespoons milk (as needed for texture)
Instructions
- Preheat your oven to 350°F (175°C) and line a baking sheet with parchment paper.
- In a large bowl, cream together softened unsalted butter, creamy peanut butter, granulated sugar, and brown sugar until light and fluffy.
- Mix in one large egg and vanilla extract until fully combined.
- In another bowl, whisk together all-purpose flour, baking soda, and salt; gradually add this mixture to the wet ingredients until a dough forms.
- Roll dough into small balls (about 1 inch), shape into ovals, and lightly press with a fork for the classic crosshatch design. Sprinkle with extra sugar.
- Bake on the lined sheet for 8–10 minutes until lightly golden; allow cooling on a rack.
- For the filling, beat together peanut butter, softened unsalted butter, powdered sugar, and vanilla extract until smooth; adjust texture with milk if needed.
- Once cooled, spread filling on one cookie and top with another to form sandwiches.
Nutrition
- Serving Size: 1 sandwich cookie (30g)
- Calories: 150
- Sugar: 10g
- Sodium: 95mg
- Fat: 8g
- Saturated Fat: 3g
- Unsaturated Fat: 4g
- Trans Fat: 0g
- Carbohydrates: 17g
- Fiber: 1g
- Protein: 3g
- Cholesterol: 10mg