How to Make Sugar Free Condensed Milk
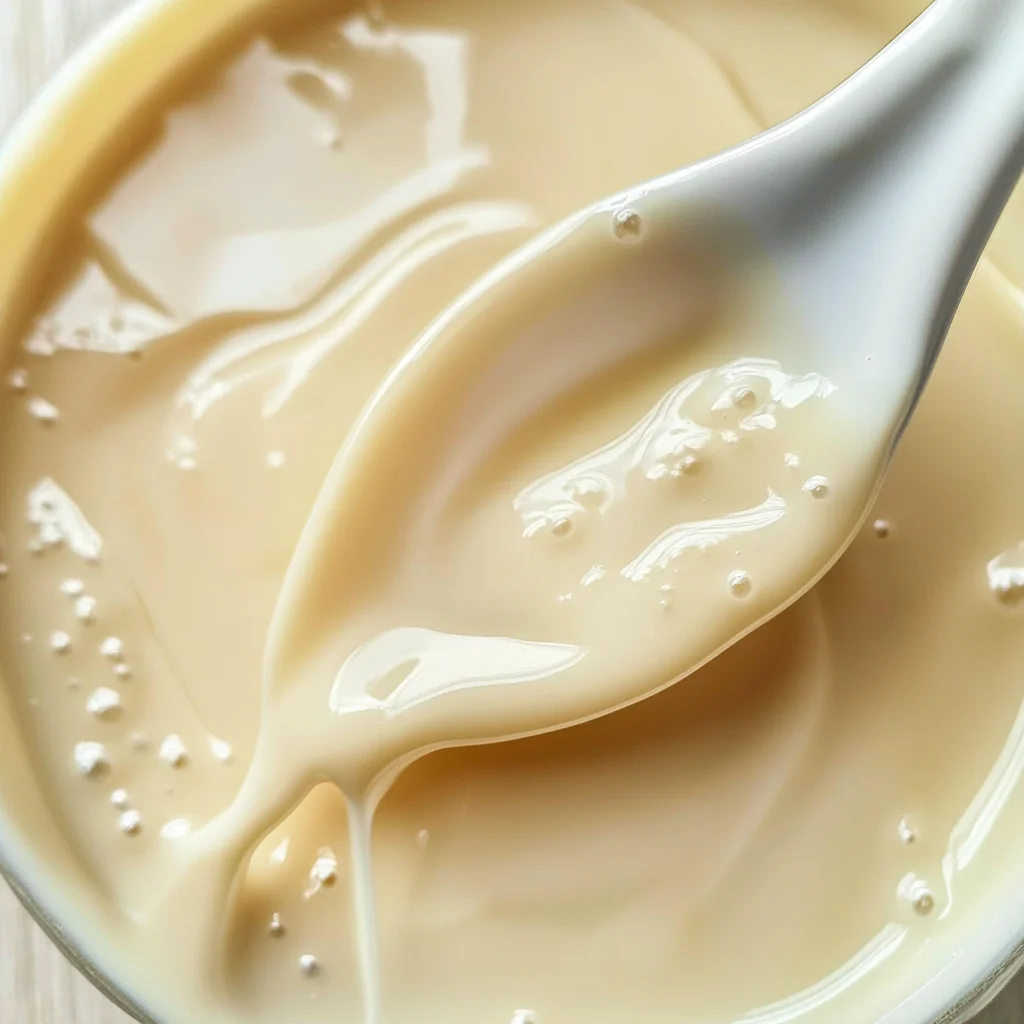
How to make Sugar Free Condensed Milk is a delightful recipe that allows you to enjoy the rich, creamy sweetness of traditional condensed milk without the extra sugar. Perfect for various desserts and snacks, this sugar-free alternative is easy to prepare and offers great versatility in your cooking. Whether you’re making treats for a special occasion or simply indulging at home, this recipe will be a go-to in your collection.
Why You’ll Love This Recipe
- Healthier Choice: Enjoy the taste of condensed milk without the added sugar, making it suitable for low-carb diets.
- Versatile Ingredient: Use it in baking, coffee, or as a sweetener for various desserts.
- Simple Process: With just a few ingredients and easy steps, you can whip this up quickly.
- Customizable Thickness: Adjust the thickness to your liking using guar gum for a creamier texture.
- Budget-Friendly: Save money by making homemade condensed milk instead of purchasing expensive store-bought options.
Tools and Preparation
To successfully make Sugar Free Condensed Milk, you’ll need some basic kitchen tools. Having the right equipment makes the process easier and ensures great results.
Essential Tools and Equipment
- Medium saucepan
- Whisk
- Measuring cups
- Measuring spoons
Importance of Each Tool
- Medium saucepan: Essential for heating and combining ingredients evenly without burning them.
- Whisk: Helps to blend ingredients smoothly and incorporate air into the mixture, improving texture.
- Measuring cups: Ensure accurate quantities of ingredients for consistent results every time.
- Measuring spoons: Perfect for precise measurements of smaller ingredients like butter and guar gum.

Ingredients
For the Base
- 12 ounce Evaporated Milk
- 1 cup Splenda
For Texture
- 2 tbsp Butter
- 1/2 tsp Guar Gum
How to Make How to Make Sugar Free Condensed Milk
Step 1: Combine Ingredients
Whisk together the evaporated milk with Splenda until well mixed. Heat this mixture in a medium saucepan over low-medium heat. Stir continuously until it starts to bubble.
Step 2: Simmer the Mixture
Once bubbling occurs, reduce the heat to low. Allow it to simmer gently while skimming off any layers that form on top as needed.
Step 3: Adjust Thickness and Finish
Remove from heat after about an hour. If your desired thickness has not been reached, stir in the guar gum before adding in the butter. Mix well until fully incorporated.
With these simple steps, you now know how to make Sugar Free Condensed Milk! Enjoy it as a delicious addition to your favorite recipes or snacks.
How to Serve How to Make Sugar Free Condensed Milk
Sugar Free Condensed Milk is a versatile ingredient that can elevate many dishes. Whether used as a sweetener or a creamy addition, this homemade version is perfect for various applications.
As a Sweetener in Coffee or Tea
- Adding a splash of sugar free condensed milk to your morning coffee or tea can create a rich and creamy beverage without the added sugar.
In Smoothies
- Blend it into your favorite smoothie for added creaminess and sweetness. It pairs wonderfully with fruits like bananas and berries.
As a Topping for Desserts
- Drizzle over cakes, brownies, or ice cream as a delicious topping that enhances the flavors without excess calories.
In Baking Recipes
- Substitute regular sweetened condensed milk with this sugar free version in baking recipes for cookies, bars, and cakes to cut back on sugar while keeping the delicious taste.
In Homemade Ice Cream
- Use it as an essential ingredient in making creamy ice cream. It gives the right texture while being low in sugar.
In Pudding or Custard
- Incorporate it into your pudding or custard recipes for a richer flavor and creamier consistency that’s guilt-free.
How to Perfect How to Make Sugar Free Condensed Milk
Perfecting your sugar free condensed milk can enhance its flavor and texture significantly. Here are some helpful tips.
-
Use fresh evaporated milk: Freshness improves the taste and quality of your condensed milk, leading to better results.
-
Stir continuously while heating: This prevents the mixture from sticking to the bottom of the pan and ensures even cooking.
-
Monitor thickness closely: Achieving the desired thickness may require patience. Remove from heat only when you’re satisfied with the consistency.
-
Try different sweeteners: Experiment with other sugar substitutes if Splenda isn’t your preference. Choose ones that suit your taste.
-
Store properly: Keep your homemade condensed milk in an airtight container in the fridge to maintain freshness for up to two weeks.
Best Side Dishes for How to Make Sugar Free Condensed Milk
Pairing side dishes with your sugar free condensed milk creations can complete any meal beautifully. Here are some great options.
-
Fresh Fruit Salad: A mix of seasonal fruits adds freshness and balances sweetness perfectly alongside desserts using condensed milk.
-
Nutty Granola Bars: These bars make an excellent snack and pair well with drizzled sugar free condensed milk for extra flavor.
-
Coconut Rice: The subtle sweetness from coconut rice complements desserts made with sugar free condensed milk beautifully.
-
Chocolate Avocado Mousse: This rich dessert provides a healthy pairing option that works well with additional sweetness from condensed milk.
-
Almond Cookies: Crunchy almond cookies served alongside sweetened desserts provide textural contrast that’s delightful.
-
Chia Seed Pudding: This nutritious option absorbs flavors well, especially when topped with sugar free condensed milk for added sweetness.
-
Oatmeal Pancakes: Fluffy pancakes drizzled with this homemade treat create an indulgent breakfast or brunch experience.
-
Baked Apples: Warm baked apples topped with sugar free condensed milk make an irresistible dessert that’s both healthy and satisfying.
Common Mistakes to Avoid
When learning how to make sugar free condensed milk, it’s easy to make a few common mistakes. Here are some tips to help you achieve the perfect result.
- Skipping the Whisking: Failing to whisk the evaporated milk thoroughly with the sugar alternative can lead to clumps. Make sure to whisk until well combined for a smooth texture.
- Too High Heat: Cooking on high heat can cause the mixture to scorch. Always keep the heat low to medium and stir continuously.
- Not Skimming: Ignoring the need to skim off layers as the mixture simmers can result in a less refined product. Regularly remove any foam or impurities for clarity.
- Rushing Thickness: Trying to speed up the thickening process by increasing heat can ruin your mixture. Patience is key; allow it to simmer gently until desired thickness is reached.
- Neglecting Guar Gum Usage: Forgetting to add guar gum when needed can leave your condensed milk runny. Add it if after an hour of cooking you haven’t reached your desired thickness.
Storage & Reheating Instructions
Refrigerator Storage
- Store in an airtight container.
- Keep in the refrigerator for up to 1 week.
Freezing How to Make Sugar Free Condensed Milk
- Pour into freezer-safe containers, leaving space for expansion.
- Can be frozen for up to 3 months.
Reheating How to Make Sugar Free Condensed Milk
- Oven: Preheat oven at 350°F (175°C). Place in an oven-safe dish and warm gently.
- Microwave: Heat in short intervals, stirring frequently until warm.
- Stovetop: Warm over low heat, stirring constantly until heated through.
Frequently Asked Questions
Here are some common questions about making sugar free condensed milk that may help clarify your process.
How to Make Sugar Free Condensed Milk without Evaporated Milk?
You can use homemade alternatives like almond or coconut milk mixed with sweeteners and thickening agents.
Can I Use Other Sweeteners besides Splenda?
Yes, feel free to experiment with other sugar alternatives such as erythritol or stevia, keeping in mind their sweetness levels differ.
How Long Does Sugar Free Condensed Milk Last?
When refrigerated, it lasts up to one week. If frozen, it can last up to three months.
What Recipes Can I Use Sugar Free Condensed Milk In?
Sugar free condensed milk is versatile! Use it in desserts, coffee drinks, or as a base for creamy sauces and soups.
Is There a Vegan Alternative for This Recipe?
Yes! Substitute dairy evaporated milk with plant-based options like coconut milk or soy milk and follow the same steps.
Final Thoughts
This sugar free condensed milk recipe provides a deliciously creamy base for various dishes without added sugars. It’s perfect for those looking for lower carb options while maintaining flavor. Feel free to customize this recipe by adding flavors like vanilla or chocolate for an extra twist!
Sugar Free Condensed Milk
Indulge in the rich, creamy taste of sugar free condensed milk without the guilt. This versatile homemade alternative is perfect for all your dessert needs, from sweetening your morning coffee to enhancing baked goods and smoothies. With just a handful of ingredients and an easy preparation process, you’ll have a deliciously creamy treat that fits into your low-carb lifestyle. The customizable thickness allows you to create the perfect texture for any recipe. Plus, making it at home saves you money and ensures freshness. Elevate your favorite dishes with this delightful sugar-free option!
- Prep Time: 10 minutes
- Cook Time: 60 minutes
- Total Time: 1 hour 10 minutes
- Yield: Approximately 15 servings 1x
- Category: Dessert
- Method: Stovetop
- Cuisine: American
Ingredients
- 12 ounces evaporated milk
- 1 cup Splenda (or other sugar substitute)
- 2 tablespoons butter
- 1/2 teaspoon guar gum
Instructions
- In a medium saucepan, whisk together evaporated milk and Splenda until thoroughly combined.
- Heat the mixture over low-medium heat, stirring continuously until it begins to bubble.
- Reduce heat to low and simmer gently for about one hour, skimming off any foam that forms on top.
- If desired thickness is not reached, stir in guar gum and mix until fully incorporated before adding butter.
Nutrition
- Serving Size: 2 tablespoons
- Calories: 30
- Sugar: 0g
- Sodium: 10mg
- Fat: 2g
- Saturated Fat: 1g
- Unsaturated Fat: 1g
- Trans Fat: 0g
- Carbohydrates: 2g
- Fiber: 0g
- Protein: 1g
- Cholesterol: 5mg